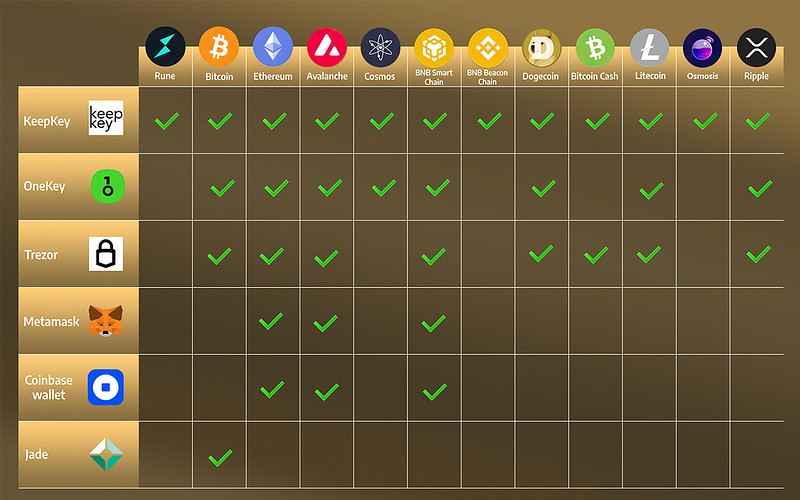
Open-source firmwareShips to anywhere11 native chains + all EVM tokensFree firmware updates for lifeSince 2014Fully auditable hardwareTHORChain swaps built-inOpen-source firmwareShips to anywhere11 native chains + all EVM tokensFree firmware updates for lifeSince 2014Fully auditable hardwareTHORChain swaps built-in
Using the KeepKey Browser Extension to Self Custody your XRP
How to Send And Receive XRP
Introduction
This guide explains how to set up your KeepKey hardware wallet for managing XRP. It covers purchasing your device, installing the browser extension for web3 integration, configuring XRP in your wallet, and understanding key XRP concepts such as addresses, Destination Tags, and transaction history. Whether you are new to cryptocurrency or have some experience, this guide will help you securely handle your XRP.
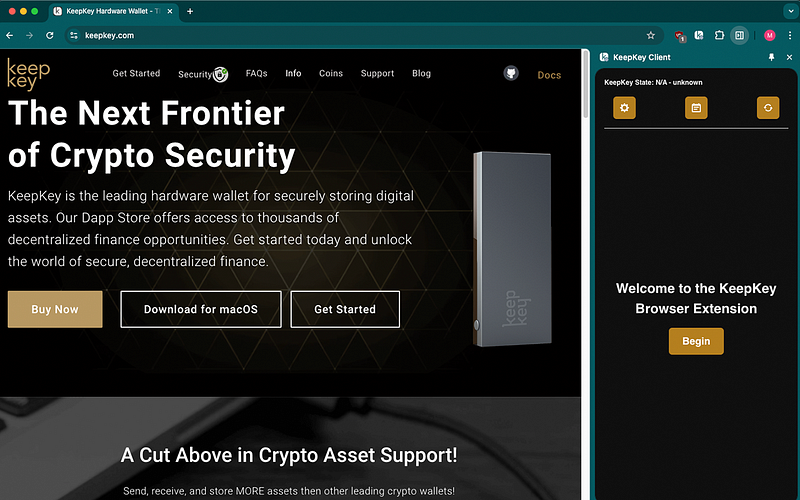
Get the KeepKey BEX
Bex | KeepKey
KeepKey - The premier hardware wallet to help protect your cryptocurrencies and safeguard your assets from hackers.
keepkey.com
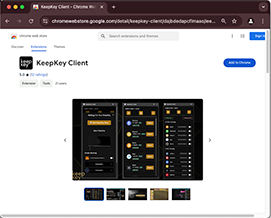
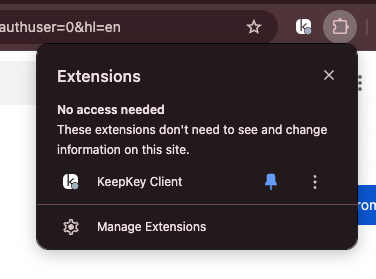
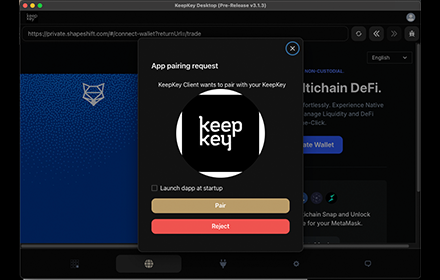
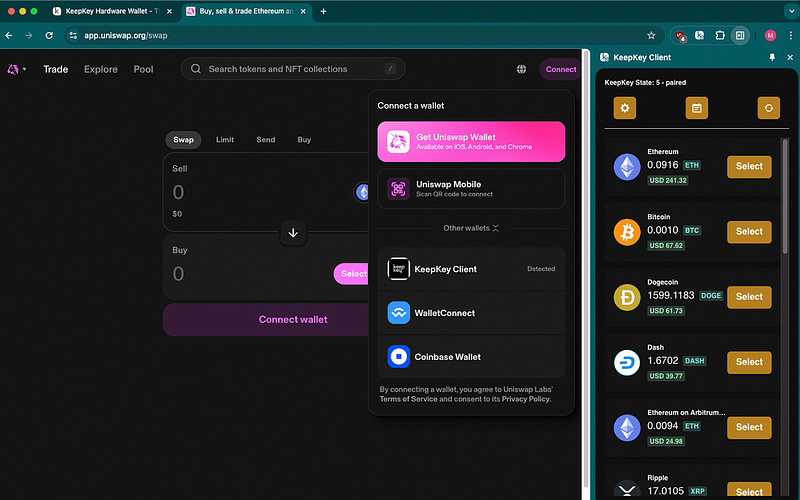
The KeepKey browser extension enhances your experience by integrating your wallet with web3 applications. Follow the guide below to install it:
The Complete Guide to the KeepKey Browser Extension:
Seamless web3 Integration
Step 1: Configuring XRP on Your KeepKey
After installing the browser extension, you can configure your KeepKey wallet to manage XRP:
Locate XRP in the Blockchain List
- Open your KeepKey interface.
- Navigate to the list of supported blockchains.
- Scroll until you find Ripple (XRP).
Select Ripple
- Click the Select button next to Ripple to enable XRP support in your wallet.
Access Your XRP Receiving Address
- Click on the “Receive Ripple” button.
- Your KeepKey will display your unique XRP address.
Understanding Your XRP Address
- An XRP address is a unique identifier on the Ripple network that functions like a bank account number.
- It allows you to receive XRP from exchanges or other wallets.
3. How Do I Look Up My Transaction History?
You can view your XRP transaction history directly within your KeepKey wallet interface. Additionally, you can use an XRP block explorer:
- Press “View History” on the XRP page
- This will open a block explorer with your address
Step 2. How to Send Ripple
Press the select button next to Ripple
- Navigate to the Send section in your wallet.
- Enter the recipient’s XRP address
- Follow the on-screen instructions to confirm and complete the transaction.
- Reminder: You MUST look down! to complete the transaction you must view and approve it on the device!
View Your Transaction on a block explorer!
By following these steps, you can confidently manage your XRP using your KeepKey hardware wallet. Enjoy the peace of mind that comes with secure and efficient cryptocurrency management!
For more info go to https://keepkey.com